Showing posts with label healthy food. Show all posts

Wednesday, January 31, 2018

Go Green for Super Bowl Sunday! Cook Easy-to-Make Roasted or Grilled Artichokes

We are planning a Super Bowl Sunday party. My plan is to serve "picnic" food. Carrot salad, potato salad, Little Gem green salad, Persian salad, crispy fried chicken, brown sugar salmon and roasted artichokes.

Super Bowl Sunday food should be fun, delicious and healthy.

Spring is happening and artichokes are showing up in our farmers markets. The dark green vegetable, prized by cooks, is healthy and easy-to-prepare.
Looking at an artichoke, with its hard exterior and sharp pointed leaves makes me wonder how anyone figured out they would be good to eat. With a small amount of effort, that tough looking exterior gives up the wonderfully savory flavor bits at the end of the each leaf.
Choosing a good artichoke

Whether you find one that is the size of your hand or a larger one the size of a soft ball, give it a squeeze. If the artichoke feels solid, you've found a good one. An artichoke past its prime will be squishy like a child's squeeze toy. Make sure all the leaves are green. Don't buy an artichoke with brown or blackened leaves.
Having a sharp pair of scissors or kitchen shears, a pairing knife and a chefs knife will make breaking down the artichoke easy.

Roasted or Grilled Artichokes

One person can easily eat one artichoke the size of your hand. The larger artichokes will feed 2-3 people as an appetizer or a side dish. 

Serves 4

Prep Time: 10 minutes

Cooking Time: 30-35 minutes

Total Time: 40-45 minutes

Ingredients

4 medium sized or 2 large artichokes, washed
1 tablespoon kosher salt
2 tablespoons olive oil
1 teaspoon sea salt
1/2 teaspoon black pepper
1/4 cup sweet butter (optional)
Directions

Preheat oven to 350F. Or, set grill (indoor or outdoor) to medium-high.

Place a large stock pot on the stove on a high flame. Add kosher salt. Bring to a low boil. Cover.

To roast the artichoke sections after boiling, cover the bottom of a baking sheet with parchment paper, a Silpat sheet or a piece of aluminum foil. Set aside.

Using scissors trim off the pointy end of each artichoke leaf.

Trim off the stem of each artichoke, flush to the bottom. Discard the stems.

Give each artichoke a flat-top haircut. Place the artichoke on its side. Using a chefs knife, trim off the top 1/4" of each artichoke and discard.

Place the artichoke on the cutting board. Using a chefs knife, cut each artichoke in half, from bottom to the top. Cut each half into two pieces. If the artichoke is large, cut those four pieces in half, creating eight segments.

Working quickly, because the inside of the artichoke will discolor when exposed to air, use a sharp pairing knife to remove the fuzzy part on the inside of each section. Rinse the artichoke sections and discard the fuzzy parts.

Place all the artichoke sections in the boiling salted water. Cover and cook 10 minutes.

Using the pairing knife, test one of the artichoke sections. The knife should easily go into the fleshy part on the bottom of the leaves. If the knife doesn't go in easily, cook another 5 minutes but beware not to over cook the artichokes. They should be firm not mushy.

Place a colander or strainer in the sink. Pour the hot salted water with the artichoke sections into the colander and drain.

Transfer the artichoke sections to a mixing bowl. Drizzle with olive oil. Season with sea salt and black pepper. Toss well to coat.

If grilling, place the artichokes on the pre-heated grill. Turn frequently to avoid burning. Remove when grill marks appear on all sides.

If baking in the oven, arrange the artichokes on the prepared baking sheet, leaving room between the sections.

Place in the oven and cook 15 minutes. Using tongs, turn the sections over and place back in the oven another 15 minutes so they cook evenly.

Remove the artichokes from the oven and serve hot or at room temperature with sea salt, black pepper and small dishes of melted butter (optional).

If serving with melted butter (optional), melt the butter in a small saucepan being careful to avoid burning.

Saturday, August 5, 2017

To Eat Well and Eat Healthy, California's Bay Area Chef's Use Flake Salt on Summer's Best Produce

Recently I was invited to take a culinary tour of the San Francisco Bay Area. That meant exploring Oakland, San Francisco and San Jose eating, drinking and meeting chefs. The restaurants were as varied as they could have been. They served pizza, steak, soul food, Mexican dishes, sushi, Portuguese and Vietnamese cuisine.
Two were Michelin starred, San Francisco's Omakase and San Jose's Adega Restaurant.  All were well-known local favorites. I loved each and every one of them.

Looking over my notes and photographs getting ready to write about the trip, I noticed something interesting. In four of the restaurants, chefs had taken special notice of the flavor enhancing qualities of specialty salts.

For years I have been using sea salt and additive-free Diamond Crystal kosher salt when I cook. On this trip I was impressed with the ways in which chefs used flake salts to finish their dishes.

Two chefs curated high quality flake salt

In Oakland at A16 Rockridge, as the pizzas I had ordered were baking in the wood fired oven, Isaiah Martinez, Executive Sous Chef, served me a plate of roasted calamari with deep fried Corona beans and paper thin slices of lemon. I took at bite. Delicious.

Before I could take another bite, Martinez sprinkled flake sea salt on the dish. I tried another bite. The flavors were brighter and cleaner.  At A16 Rockridge, Jacobsen's Sea salt is not used during cooking but as a finishing salt, sprinkled on at the last minute to protect its delightful crunch.
At chef Marc Zimmerman's extraordinary Alexander's Steakhouse in San Francisco, premium steaks are accompanied with a tray of a dozen+ salts. With my steak from Hokkaido, Japan's northern most island where the weather is cold and the cattle retain their fat to keep warm, I dutifully tasted each salt. Preferring some over others. The clear favorite for me was Murray River Flake Salt from Australia. The pink salt had a clean taste, just like Jacobsen's, but with an added minerality that worked well with the rich flavors of the beef.


Two chefs transformed flake salt by adding flavor

At Craftsman and Wolves, an upscale artisanal bakery and cafe in the evolving Mission District, chef William Werner creates inventive pastries and baked goods. He makes brownies flavored with Marcona almonds and salted caramel. His morning buns are beautiful works of art and inventively flavored with wild bariani honey, vanilla and Meyer lemon.
One of the bakery's most popular items is called The Rebel Within. Secreted inside the breakfast muffin is a whole soft boiled egg. Served with the muffin is a tabasco flavored flake salt. The crunchy, spicy salt works perfectly with the custardy egg and delicately flavored muffin.
Chef Gustavo Romero Veytia created a seasoned salt because he hates waste. At Calavera Mexican Kitchen & Agave Bar in Oakland's Uptown, Veytia uses a lot of roasted tomatoes to make salsas and sauces. He found himself throwing away mounds of tomato skins that were still full of flavor.

His solution was to roast the skins until they were parchment-paper-crisp before crumbling them together with Maldon flake salt. The result was a tomato salt that he sprinkles on special dishes like his Ensalada de Tomate. He dresses a richly flavored sampling of local summer-ripe tomatoes with a light cheese and crumbled chorizo dressing. Scattered along the sides of the plate are tomato flakes. A few of those sprinkled on a tomato and a superior dish becomes an extraordinary dish.

At home

So I could try Jacobsen's and Murray River flake salts in my own kitchen, I ordered them online as soon as I returned home.
At our Sunday Pacific Palisades farmers market, I picked up all I needed to create an easy-to-make feast. I could have used the outdoor grill but I am so in love with my de Buyer carbon steel pan, I cooked the salmon and veggies in the kitchen where I could more easily control the amount of char.

Even if you do not yet have these wonderful flake salts, you can have fantastic results using sea salt at the end to finish the seasoning.

Charred Vegetables and Salmon Filets With Flake Salts

If you have a quality flake salt like Maldon, Jacobsen's or Murray River, all the better, but definitely sprinkle on sea salt just before serving so the salt retains its crunchy freshness.
Murray River flake salt has a delicate minerality which is why it works so well with the steaks at Alexander's.  Made with water harvested from Netarts Bay off the Oregon Coast, Jacobsen's has a lighter, more delicate flavor and a bit more crunch than Maldon's. 

Murray River does not sell its products directly online except in Australia. Jacobsen's is available directly from the company. Both are available online from multiple sources. Maldon Salt is widely available in kitchen supply stores, upscale markets and online.

These salts cost quite a bit more than supermarket sea salt, but you only need a little to add a lot of flavor.
All of these companies sell flavored versions of their salts. I am certain they are lovely, but for this dish, use naturally flavored flake salt.

Serve with a tossed green salad, steamed rice or pasta.

Serves 4

Time to prepare: 15 minutes

Time to cook: 15 minutes

Total time: 30 minutes

Ingredients

1 pound fresh salmon filets, skin on, bones removed, washed, pat dried

1 large yellow onion or 5 shallots, washed, peeled, stems and ends removed

4 ears of corn, husks and silks removed, washed, pat dried, cut into 3" sections

4 medium sized carrots, washed, ends removed, peeled, cut into slabs 2" long, 1/2" thick

6 shiitake mushrooms, washed, ends trimmed, cut into thick slices (optional)

1 tablespoon extra virgin olive oil

3 tablespoons canola oil

1/2 teaspoon sea salt

1/4 teaspoon freshly ground black pepper

1/2 teaspoon flake salt, Maldon, Jacobsen's or Murray River to taste

Directions

Mix together the two oils and set aside.

Carefully check the salmon filets for bones. Remove any that might have been missed before. Using a sharp knife, create pieces 3" long and 1" wide. That size piece is easy to handle.

Prepare all the vegetables before beginning to cook.

Put the cast iron or carbon steel pan on a high flame with the overhead exhaust fan on. Do not add oil until the pan is hot.

When the pan smokes, drizzle on a tablespoon of the mixed olive oils. Season with a dusting of sea salt and freshly ground black pepper.

Using long tongs, sauté the vegetables separately since they cook at different speeds. Start with the carrots. When they are charred on both sides but not burnt, remove and set aside.

Do the same with the onions and mushrooms (optional).

Add more of the mixed oil, sea salt and freshly ground black pepper as needed.

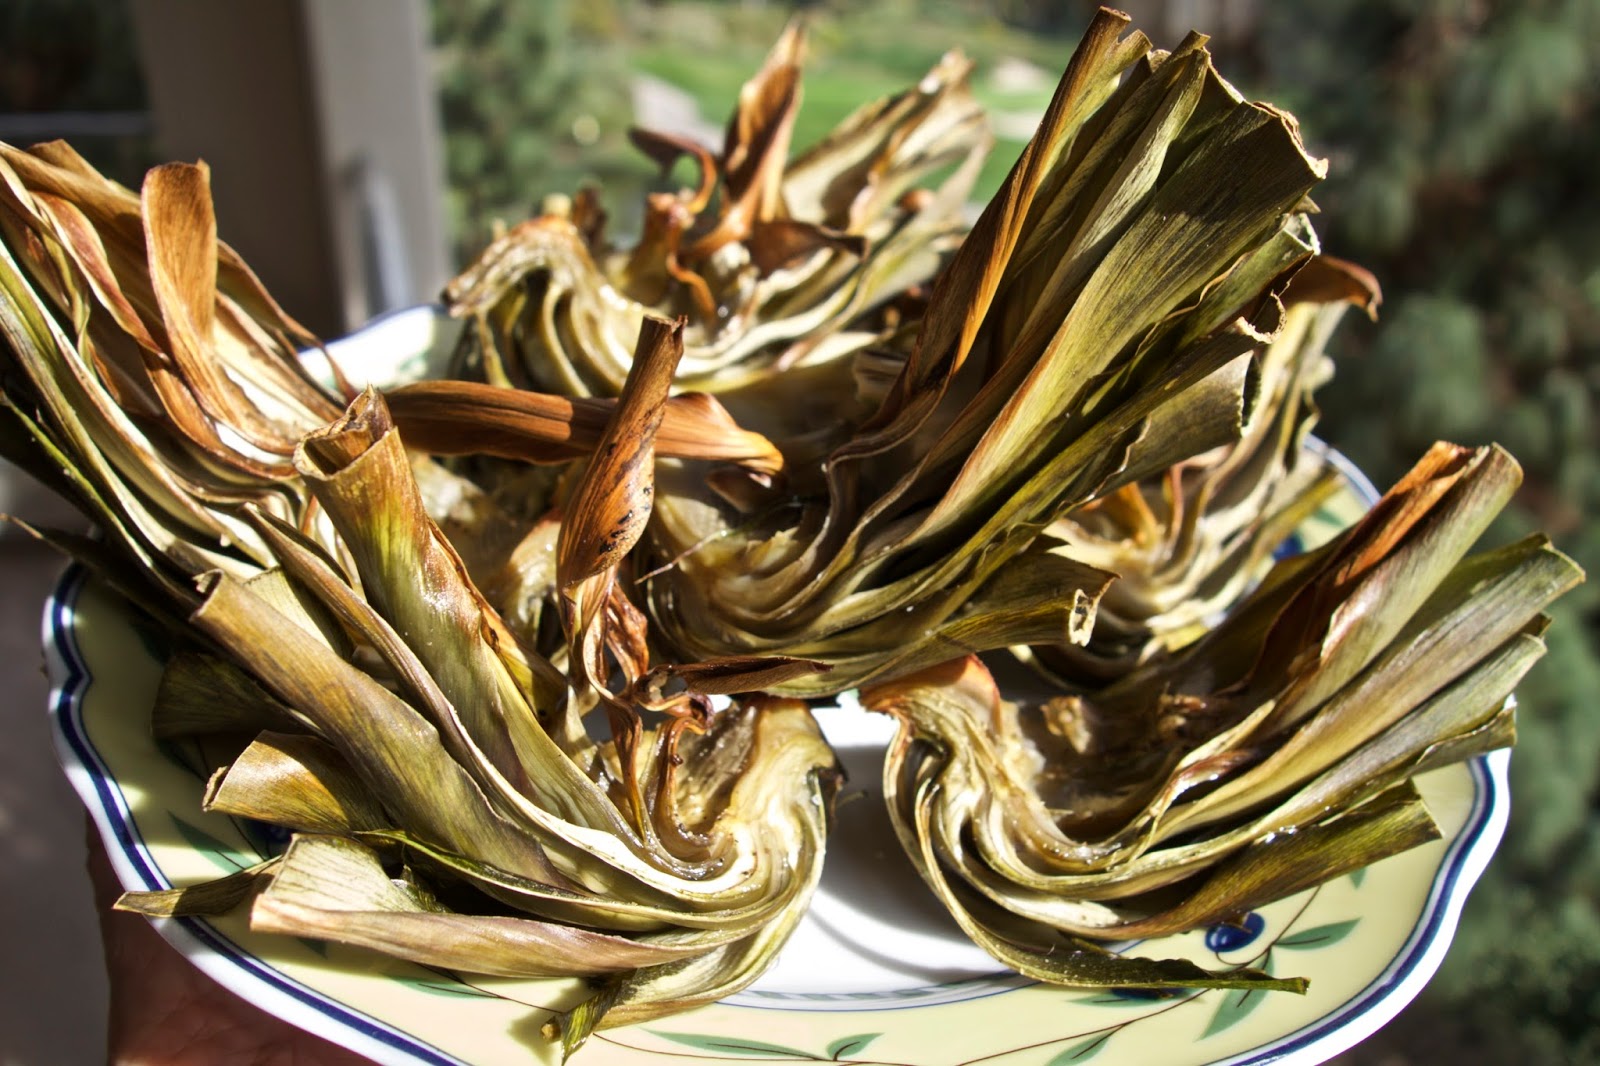
Put the cut pieces of corn on the cob into the pan.

Turn the cobs in the hot pan until most of the kernels are charred. Work in batches if necessary.

When all the vegetables are cooked and reserved and the rice, salad or pasta has been prepared, add a bit more mixed oil to the pan.
Place the salmon pieces in the hot oil. Work in batches if necessary. Turn each piece so it browns on all sides.

Place the vegetables on a plate. Add the salmon. Just before serving, top with flake salt. Serve immediately.

Thursday, September 13, 2012

Alaskan Halibut in a Roasted Tomato-Spinach-Shiitake Mushroom Sauté

When the Deadliest Catch first aired, I watched with morbid curiosity as the crews manhandled heavy metal cages. Those cages sometimes swung wildly in the air, smashing against the ship's bulkhead, threatening to hospitalize crew members.

Many times, risking life and limb did not have the hoped for payoff when the cages contained the ocean's odds and ends rather than the prized catch of Alaskan king crab.

When luck was with them, a cage would be filled with crabs, their pointed, armored legs poking out at any hand that risked a close encounter.

After that, when I ordered a crab cocktail I had newfound respect for my food. The crab meat might be delicate and sweet, but the effort it took to snatch it from the icy, turbulent ocean was marked by sweat, fear and danger.

On so many levels, when I am cooking or about to eat, I am happy to be ignorant of the difficult work it takes to get the food from ocean or farm to my table.

Recently, the Alaska Seafood Marketing Institute made it easy for me. They offered to send a box of Alaska seafood for me to prepare and write about.

Certainly I had bought, cooked and eaten Alaskan seafood before because it is available from local purveyors big (Ralphs and Gelson's) and small (Malibu Seafood).
From the extensive seafood available in Alaskan waters, I was offered king crab (how could I refuse!), halibut, cod, salmon and scallops. When the samples arrived, I happily opened the super-sized box to find the two pound vacuum packed packages of seafood perfectly chilled by dry ice and freezer packs.

I began my Alaskan adventure with the halibut.
Halibut with Roasted Tomato Sauce, Spinach and Shiitake Mushrooms

A thick filet can be cut into smaller pieces or prepared whole, which in this instance, meant a piece just under two pounds in weight. I liked the idea of cooking the filet whole and then slicing manageable pieces for serving.
A key ingredient is the roasted tomato sauce. You can certainly buy canned sauce, but homemade roasted tomato sauce is wonderfully easy to make, tastes much better than any commercial version and can be prepared and refrigerated several days in advance or frozen weeks or even months before using.

Serves 4

Ingredients

2 pounds halibut filet
1 bunch spinach, roots removed, washed to remove grit
4 large ripe tomatoes, washed, stems removed
2 garlic cloves, washed, ends and skins removed, finely chopped
6 shallots or 1 medium yellow onion, washed, ends trimmed and skins removed, roughly chopped
1/4 pound or 6-8 shiitake mushrooms, stems trimmed, washed and pat dried, roughly chopped or thin sliced
1 tablespoon sweet butter
3-4 tablespoons olive oil
Sea salt and pepper to taste

Directions

Preheat the oven to 400 F degrees. Place the tomatoes on a baking tray lined with a nonstick Silpat sheet, parchment paper or aluminum foil.  Drizzle with 1 tablespoon olive oil. Season with sea salt and pepper. Bake 1 hour. Remove and let cool.
The liquid in the bottom of the baking tray is a combination of seasoned olive oil and a clear liquid given off by tomatoes when they cook. Set up a food mill or a fine mesh stainer over a non-reactive bowl.  Pour the olive oil-tomato liquid into the food mill/strainer and add the cooked tomatoes.

Press the tomatoes through the mill/strainer, using a rubber spatula to collect all of the pulp on the bottom side of the mill/strainer.  Discard the seeds and skin or use with other ingredients to make a delicious vegetable stock.

Place the roasted tomato sauce aside in a sealed container. If not used immediately, refrigerate up to several days or freeze.

Defrost, wash and pat dry the halibut and set aside.

Heat the remaining olive oil in a large frying pan. Season with sea salt and pepper.

Many people discard spinach stems. I prefer to use them. Finely chop the stems and sauté until lightly browned. Add the shiitake mushrooms, onions and garlic and sauté until softened. Roughly chop the spinach leaves and add to the frying pan.

Once the leaves have begun to wilt, add the roasted tomato sauce (between 1 and 1 1/2 cups) and sweet butter. Simmer for ten minutes. Taste and adjust with sea salt and pepper as needed.

The halibut filet can be grilled on a barbecue or sautéed in a frying pan with similar results.  If you are using a barbecue, to prevent the fish from sticking, be certain to apply oil to the grill. Pour 1 tablespoon of oil on a paper towel and liberally rub across the grill.

If you are using a frying pan, use 2 tablespoons of olive oil and heat on a medium flame.

Using a large metal spatula to carefully lift the fish without leaving any of the flesh behind, lightly brown the filet on both sides.

Place the halibut on a cutting board and carefully slice the filet into large pieces.  Place on a serving platter and top with the heated vegetable sauté.

Serve with freshly cooked pasta or rice or with fresh baked French bread.

Variations

Along with the vegetables, sauté one piece of bacon, finely chopped, until lightly browned.

For a Spanish style flavor, season the vegetable sauté with 1/2 teaspoon paprika.

For heat, season the vegetable sauté with 1/4 teaspoon cayenne.


Tuesday, June 22, 2010

Open Faced Quesadillas

Traditionally quesadillas are a simple combination of a warm tortilla folded over hot melted cheese. When our kids were young, they made an easy to make after-school snack. By adding toppings the quesadilla turns into a fiesta of flavors. Since the quesadilla cooks quickly in a trying pan, the toppings should be pre-cooked, much the same way they are on pizzas.

Besides being easy and quick to make, quesadillas are also a great way to use left-overs. Roast chicken, steak, fish fillets, and grilled vegetables work well under a thin layer of melted cheese.

By only using one side of the quesadilla, you save on calories and improve the flavor.

Open Faced Quesadillas

The basic quesadilla is a toasted tortilla topped with melted cheese, with hot sauce or salsa added for flavor.  Kids love them, so do adults.

Yield: 4 servings
Time: 5 minutes

Ingredients

4 tortillas, corn or flour
1/4 pound cheese, cheddar, muenster, jack
2 scallions, washed, ends removed, finely chopped (optional)

Method

Heat a frying pan or griddle on a medium-high flame. Cut each tortilla into quarters. Put each piece on the griddle, topped with thin slices of cheese. Cover with a piece of aluminum foil or a lid for 5 minutes.

Remove, sprinkle with chopped scallions (optional), and serve with hot sauce or salsa.

Quesadillas with Toppings

We've tried Italian sausage rounds, grilled vegetables (carrots, broccoli, and corn), shredded roast chicken, grilled sliced shrimp, thin slices of tomato, thin slices of steak... Just about any cooked meat or vegetable could be put on a quesadilla.

Monday, August 4, 2008

Home Alone...Again: A Lime-Mint Cooler, Grilled Corn Salsa, and Carne Asada

A couple of days ago, Michael was at a Dodger's Game, Frank was in San Francisco, and Michelle was at Sundance so I was home alone. The last time I was left to my own devices, it took me a while to figure out what to make for dinner. This time I knew exactly what I wanted.

Carne asada.

When I'm cooking for myself I want something that's quick and easy. Carne asada was perfect because it only took a few minutes on the grill. Adding a corn salsa and a lime-mint cooler and I was completely happy.

For the recipes I expanded them to serve four (except for the cooler which should be made one at a time).

Lime-Mint Cooler

I wanted to find a use for a white rum from Guatemala called "Quezalteca - Especial". What I came up with is a close cousin to a Mojito.

Yield: 1 serving
Time: 5 minutes

Ingredients

1 lime or 1 tablespoon of fresh lime juice
10 mint leaves (washed, crushed)
1 1/2 tablespoons powdered sugar
3 tablespoons white rum

Method

Mix together the lime juice, mint leaves, powdered sugar and white rum, add 4 ice cubes and stir well. Let the ice cubes melt for a couple of minutes. Stir again. Taste and add more powdered sugar as needed.

Roasted Corn Salsa

Using several different kinds of cherry tomatoes gives the salsa a colorful presentation.

Yield: 4 servings
Time: 30 minutes

Ingredients

1 ear of corn (husks and silks removed)
1 basket cherry tomatoes (washed, stems removed, quartered)
1 garlic clove (peeled, finely chopped) optional
2 tablespoons red onions (finely chopped)
1 cup cilantro or Italian parsley (washed, stems removed, finely chopped)
1 small hot pepper (washed, stem and seeds removed, finely chopped) optional
1 teaspoon lemon juice (optional)
1 teaspoon olive oil
Sea salt and pepper

Method

Drizzle olive oil over the ear of corn and grill on all sides until lightly charred, remove, let cool and cut off all the kernels. Mix the corn with the tomatoes, onions, and cilantro and season with the hot pepper (optional), lemon juice (optional) , olive oil, sea salt and pepper.

For an Italian style salsa substitute the parsley for the cilantro, black pepper for the hot pepper, and don't use the lemon juice.

Carne Asada

Traditionally carne asada is served with a corn or flour tortilla. Sometimes I substitute lavash for the tortilla because the lavash is flakier and sweeter.

Yield: 4 servings
Time: 20 minutes

Ingredients

1 pound skirt or flank steak (washed, pat dry)
Olive oil
Sea salt and pepper
Hot sauce (optional)
4 large tortillas or lavash
4 romaine leaves (washed, shredded)
1 avocado (washed, pitted, peeled, roughly chopped)
2 scallions or 1 small onion (washed, peeled, finely chopped)
2 cups grated cheddar

Method

Sprinkle olive oil, sea salt, pepper, and hot sauce (optional) on a plate. Dredge the pieces of steak through the seasoned oil until well coated and grill on a hot barbecue 5-8 minutes on each side until slightly charred.

Remove from the grill, put on a plate, cover with tin foil, let rest for 5 minutes. Lightly grill tortillas or lavash on the grill. Chop the meat into bite-sized pieces, spread on the tortillas or lavash. Sprinkle on the lettuce, onions, and cheese. Season to taste with sea salt and hot sauce. Top with salsa.

Pickle Me Up! It's Thanksgiving!

Pickles are delicious anytime of the year. For Thanksgiving they are especially good. Their crunch and acidity counterbalances the delicious...